Building RC LEGO with Arduino and Qt
Recently my 4 year-old stepson saw a kid with an RC racing car in a park. He really wanted his own, but with Christmas and his birthday still being a long way away, I decided to solve the “problem” by combining three things I’m really passionate about: LEGO, electronics and programming.
In this short series of blogs I’ll describe how to build one such car using LEGO, Arduino and a bit of C++ (and Qt, of course!).
LEGO
Obviously, we will need some LEGO to build the car. Luckily, I bought LEGO Technic Mercedes Benz Arocs 3245 (40243) last year. It’s a big build with lots of cogs, one electric engine and bunch of pneumatics. I can absolutely recommend it - building the set was a lot of fun and thanks to the Power Functions it has a high play-value as well. There’s also fair amount of really good MOCs, especially the MOC 6060 - Mobile Crane by M_longer is really good. But I’m digressing here. :)
Mercedes Benz Arocs 3245 (40243) Mercedes Benz Arocs 3245 (40243)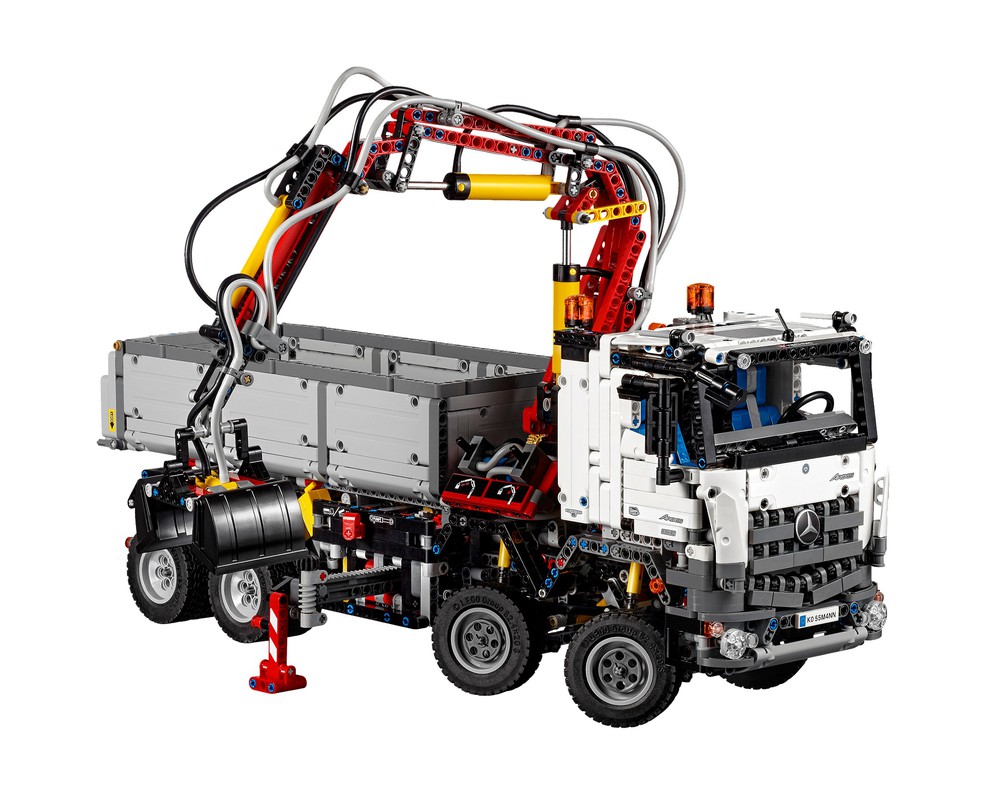

The problem with Arocs is that it only has a single Power Functions engine (99499 Electric Power Functions Large Motor) and we will need at least two: one for driving and one for steering. So I bought a second one. I bought the same one, but a smaller one would probably do just fine for the steering.
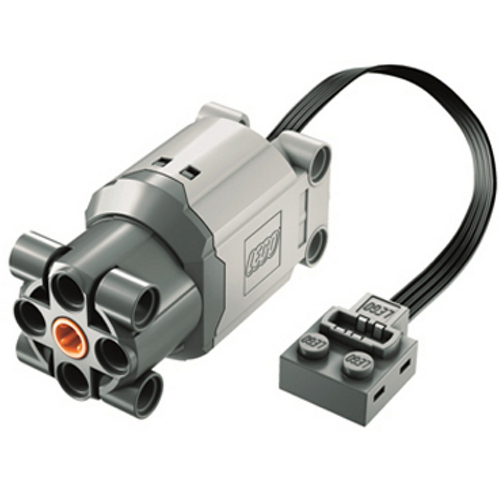
LEGO Power Functions engine (99499)
I started by prototyping the car and the drive train, especially how to design the gear ratios to not overload the engine when accelerating while keeping the car moving at reasonable speed.
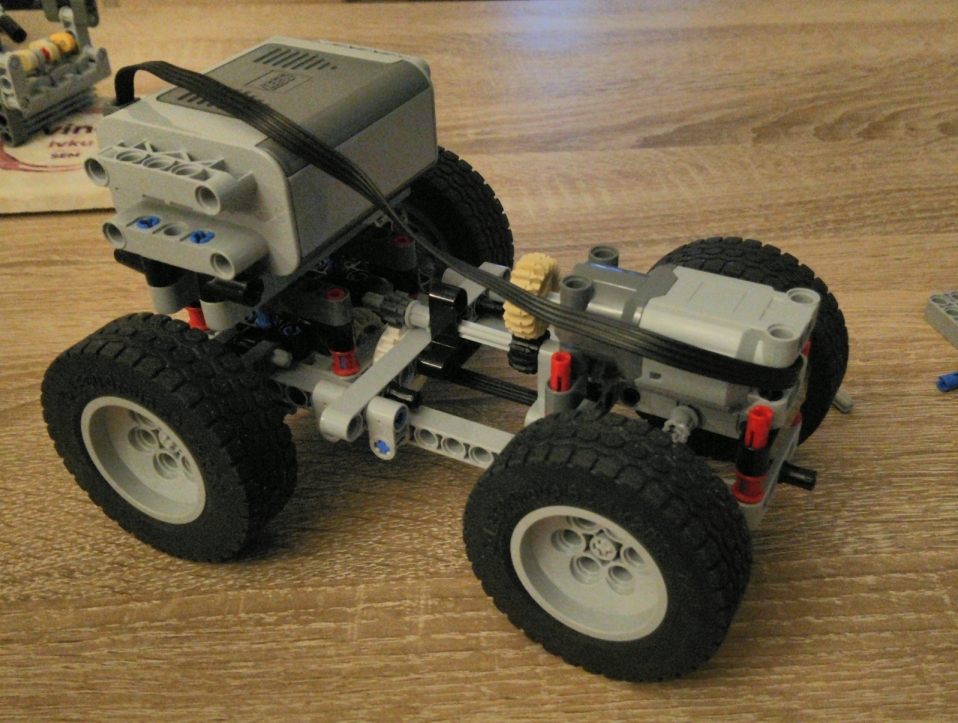
First prototype of engine-powered LEGO car
Turns out the [76244 Technic Gear 24 Tooth Clutch][lego-part-76244] is really important as it prevents the gear teeth skipping when the engine stops suddenly, or when the car gets pushed around by hand.
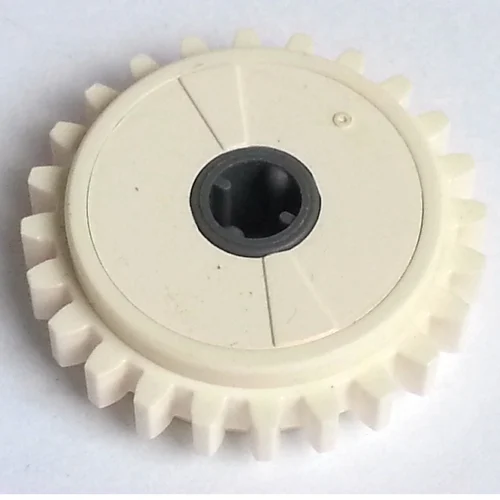
76244 Technic Gear 24 Tooth Clutch
Initially I thought I would base the build of the car on some existing designs but in the end I just started building and I ended up with this skeleton:

Skelet of first version of the RC car
The two engines are in the middle - rear one powers the wheels, the front one handles the steering using the 61927b Technic Linear Actuator. I’m not entirely happy with the steering, so I might rework that in the future. I recently got Ford Mustang (10265) which has a really interesting steering mechanism and I think I’ll try to rebuild the steering this way.
Wires
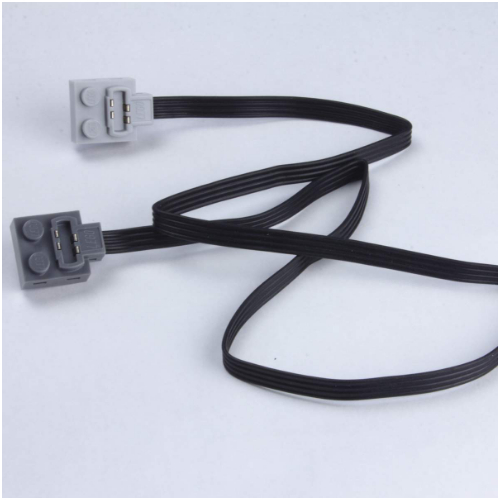
We will control the engines from Arduino. But how to connect the LEGO Power Functions to an Arduino? Well, you just need to buy a bunch of those 58118 Electric Power Functions Extension Wires, cut them and connect them with DuPont cables that can be connected to a breadboard. Make sure to buy the "with one Light Bluish Gray End" version - I accidentally bought cables which had both ends light bluish, but those can't be connected to the 16511 Battery Box.
We will need 3 of those half-cut PF cables in total: two for the engines and one to connect to the battery box. You probably noticed that there are 4 connectors and 4 wires in each cable. Wires 1 and 4 are always GND and 9V, respectively, regardless of what position is the switch on the battery pack. Wires 2 and 3 are 0V and 9V or vice versa, depending on the position of the battery pack switch. This way we can control the engine rotation direction.
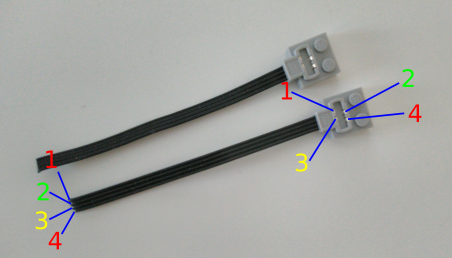
Schematics of PF wires
For the two cables that will control the engines we need all 4 wires connected to the DuPont cable. For the one cable that will be connected to the battery pack we only need the outter wires to be connected, since we will only use the battery pack to provide the power - we will control the engines using Arduino and an integrated circuit.
I used the glue gun to connect the PF wires and the DuPont cables, which works fairly well. You could use a solder if you have one, but the glue also works as an isolator to prevent the wires from short-circuiting.
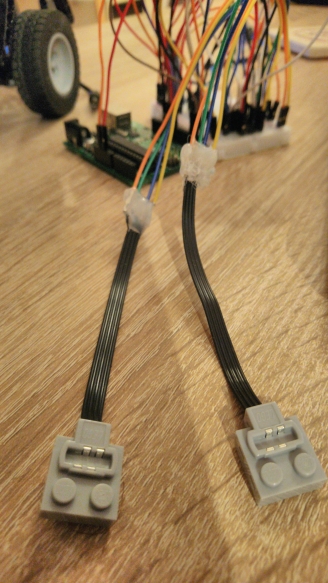
LEGO PF cable connected to DuPont wires
This completes the LEGO part of this guide. Next comes the electronics :)
Arduino
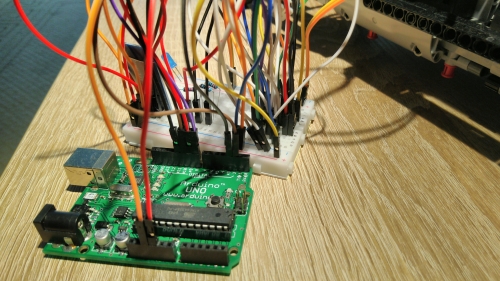
To remotely control the car we need some electronics on board. I used the following components:
- Arduino UNO - to run the software, obviously
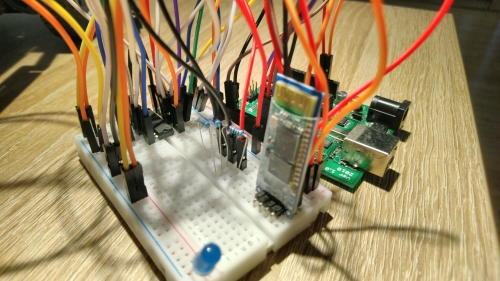
- HC-06 Bluetooth module - for remote control
- 400 pin bread board - to connect the wiring
- L293D integrated circuit - to control the engines
- 1 kΩ and 2 kΩ resistors - to reduce voltage between Arduino and BT module
- 9V battery box - to power the Arduino board once on board the car
- M-M DuPont cables - to wire everything together
The total price of those components is about €30, which is still less than what I paid for the LEGO engine and PF wires.
Let’s start with the Bluetooth module. There are some really nice guides online how to use them, I’ll try to describe
it quickly here. The module has 4 pins: RX, TX, GND and VCC.
GND can be connected directly to Arduino’s GND pin. VCC is power supply for the
bluetooth module. You can connect it to the 5V pin on Arduino. Now for TX and RX
pins. You could connect them to the RX and TX pins on the Arduino board, but that makes it
hard to debug the program later, since all output from the program will go to the bluetooth module rather than our
computer. Instead connect it to pins 2 and 3. Warning: you need to use a voltage
divider for the RX pin, because Arduino operates on 5V, but the HC-06 module operates on 3.3V. You can
do it by putting a 1kΩ resistor between Arduino pin 3 and HC-06 RX and 2kΩ resistor between
Arduino GND and HC-06 RX pins.
Next comes up the L293D integrated circuit. This circuit will allow us to control the engines. While in theory we could hook up the engines directly to the Arduino board (there’s enough free pins), in practice it’s a bad idea. The engines need 9V to operate, which is a lot of power drain for the Arduino circuitry. Additionally, it would mean that the Arduino board and the engines would both be drawing power from the single 9V battery used to power the Arduino.
Instead, we use the L293D IC, where you connect external power source (the LEGO Battery pack in our case) to it as well as the engines and use only a low voltage signal from the Arduino to control the current from the external power source to the engines (very much like a transistor). The advantage of the L293D is that it can control up to 2 separate engines and it can also reverse the polarity, allowing to control direction of each engine.
Here’s schematics of the L293D:
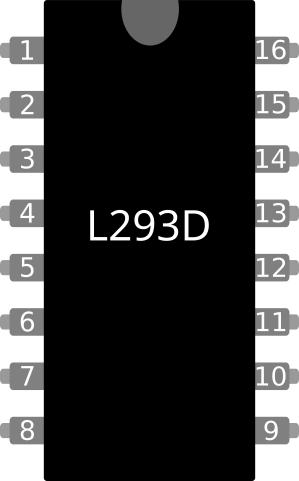
L293D Schematics
To sum it up, pin 1 (Enable 1,2) turns on the left half of the IC, pin 9 (Enable 3,4) turns
on the right half of the IC. Hook it up to Arduino's 5V pin. Do the same with pin 16 (VCC1), which powers
the overall integrated circuit. The external power source (the 9V from the LEGO Battery pack) is connected to
pin 8 (VCC2). Pin 2 (Input 1) and pin 7 (Input 2) are connected to Arduino and
are used to control the engines. Pin 3 (Output 1) and pin 6 (Output 2) are output pins that
are connected to one of the LEGO engines. On the other side of the circuit, pin 10 (Input 3) and
pin 15 (Input 4) are used to control the other LEGO engine, which is connected to pin 11 (Output 3)
and pin 14 (Output 4). The remaining four pins in the middle (4, 5,
12 and 13 double as ground and heat sink, so connect them to GND (ideally both Arduino and
the LEGO battery GND).
Since we have 9V LEGO Battery pack connected to VCC2, sending 5V from Arduino to Input 1 and
0V to Input 2 will cause 9V on Output 1 and 0V on Output 2 (the engine will spin
clockwise). Sending 5V from Arduino to Input 2 and 0V to Input 1 will cause 9V to be on
Output 2 and 0V on Output 1, making the engine rotate counterclockwise. Same goes for the
other side of the IC. Simple!
Conclusion
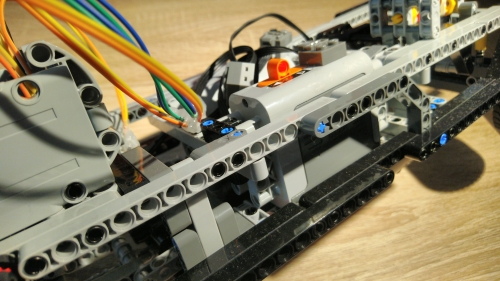
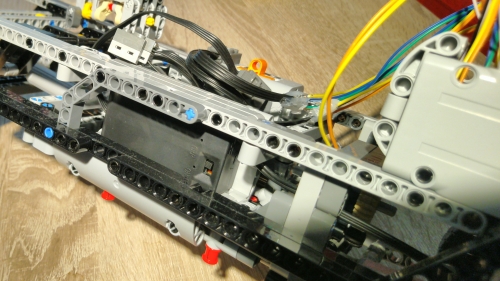
I also built a LEGO casing for the Arduino board and the breadboard to attach them to the car. With some effort I could probably rebuild the chassis to allow the casing to “sink” lower into the construction.
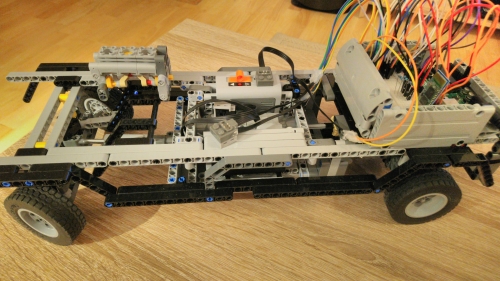
The batterry packs (the LEGO Battery box and the 9V battery case for Arduino) are nicely hidden in the middle of the car on the sides next to the engines.
Now we are done with the hardware side - we have a LEGO car with two engines and all the electronics wired together and hooked up to the engines and battery. In the next part we will start writing software for the Arduino board so that we can control the LEGO engines programmatically. Stay tuned!
